A Step-by-Step Guide on How to Install Zellige Tile

How to Install Zellige Tile Like a Pro
Zellige tile is beautiful, handmade, and full of character — but how to install zellige tile properly is what makes all the difference between a polished finish and a mess.
In this guide, I’ll walk you through exactly how to install zellige tile step-by-step, based on traditional Moroccan craftsmanship, and modern installer tips you’ll want to follow closely.
Let’s dive in.

What is Zellige Tile?
Zellige (sometimes spelled Zelij or Zillij) is a type of handcrafted Moroccan tile made from glazed terracotta. What makes zellige unique is its irregularity — each tile is cut by hand, giving it slight imperfections that make the final surface shimmer and come alive.
Zellige is not machine-perfect — and that’s exactly the point.
Why Installation Matters?
Unlike machine-made tiles, zellige tiles require extra care during installation. If you try to install them like you would a ceramic tile from a big box store, you’ll likely end up frustrated.
With zellige, you’re not aiming for “perfect” lines — you’re aiming for organic harmony. Think wabi-sabi meets Moroccan soul.

How to Install Zellige Tile Without a Professional
1. Prepare Your Surface:
Your wall must be solid and clean. Use a cement backer board or a surface that can handle the weight and texture of the tile.
Give it some grip — roughen the surface slightly so the thinset will stick.
2. Plan Your Layout Carefully:
Measure twice, place once.
Zellige requires more planning than cutting.
Use a chalk line or laser level
Work in sections (e.g., 3x3 feet)
Mark grout lines and corners in advance
The more time you spend here, the smoother your install will go.
3. Use the Right Thinset:
Apply a layer of thinset to both the wall and the back of each tile. Think of it like frosting a cake — soft, smooth, and even.
Focus on:
More mortar in the center
Less at the edges
Avoid air pockets
4. Press and Space Tiles Properly:
Place the tile and press gently into the thinset. Don’t overdo it.
Leave a 1/16" to 1/8" grout joint between each tile. This space allows for minor size differences and imperfections.
Do not force misaligned tiles — zellige naturally varies, and that’s part of its beauty.
5. Don’t Intentionally Make It Look Off:
There’s a myth that zellige tiles should look uneven — not true. You should do your best to align them, knowing that small imperfections will naturally appear.
As the Moroccan saying goes, “Beauty lies in the hands that made it.”
6. Grouting Your Zellige:
Use unsanded grout for best results.
Once dry, gently sponge the surface — don’t scrub too hard, or you risk pulling grout from the joints.
Pro Tip: Start with White Square Moroccan Zellige
If you’re just getting started, I highly recommend using our white square Moroccan zellige tiles. They're easier to align, and the color blends naturally with most interiors — modern, boho, or rustic.
You can view them here:
👉 White Moroccan Zellige Tile – Boutabaa Crafts
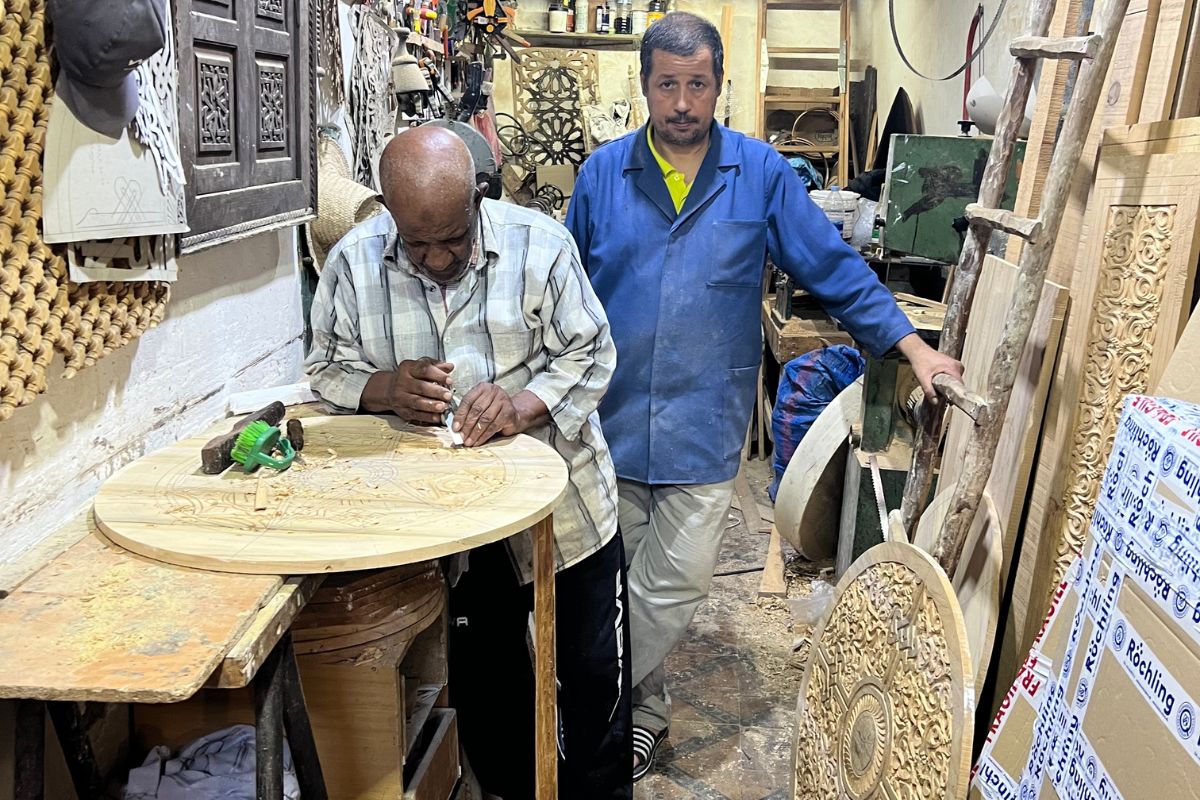
They’re handcrafted in Marrakesh by our artisans, glazed with natural pigments, and ship directly to your door — no resellers, no factory-made tiles.
The Bottom Line:
Installing zellige tile isn’t hard, but it is an art. You need the right approach, the right tools, and the right mindset.
And once it’s done? You’ll have a truly one-of-a-kind wall, backsplash, or floor that tells a story — of craftsmanship, history, and Moroccan soul.
FAQ – How to Install Zellige Tile
Zellige tiles are handmade, each one unique in texture, size, and glaze. Unlike machine tiles, zellige is imperfect — and that’s what gives it soul and movement.
No need for spacers. Just leave a natural 1/16″–1/8″ grout line. Too much spacing will make it look forced.
Yes, but it requires patience. If you’ve done tile work before, follow our step-by-step above. Otherwise, consult an installer with experience in handcrafted tile.
Use unsanded grout to avoid scratching the glazed surfaces. Avoid dark grout if you’re working with white or light-colored zellige.
You don’t need to seal glazed zellige tiles. But for unglazed or terracotta versions, a light natural stone sealer can help protect it.
Right here. At Boutabaa Crafts, we make our tiles by hand in Marrakesh and ship directly.
👉 Shop Zellige Tiles